I know bending sheet metal probably seems like a daunting task, especially if you don’t have access to expensive metalworking tools. But with the right guidance and techniques, you can get professional results at home. Designers and DIYers often find themselves needing bent metal parts for various projects. You can do it too, and I’ll show you how.
Bending sheet metal by hand involves choosing the right material, gathering the necessary tools, taking accurate measurements, and using the right techniques to get clean bends. By following the steps and tips in this guide, you can bend sheet metal effectively at home, even without specialized equipment.
In this guide, we’ll walk through each step of the process, from selecting the right sheet metal to making the perfect bend. I’ll share tips and techniques to ensure your bends are accurate and professional. Whether you’re working on a small DIY project or need precise bends for a larger job, this guide will help you get the job done.
What is Hand Bending Sheet Metal?
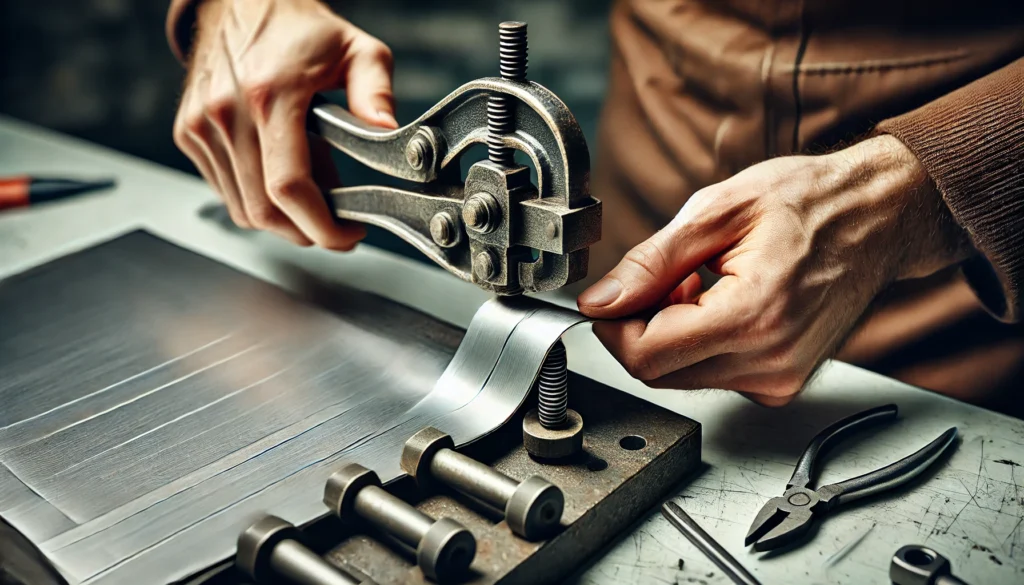
Hand bending sheet metal is the process of shaping metal sheets by hand without the use of expensive machinery. You can do it with tools like clamps, a metal vise, pliers, and safety equipment. The key is to apply consistent pressure and use the right techniques to get the bend you’re looking for.
Why Choose Hand Bending?
Hand bending is great for small projects. It’s a simple, affordable way to get precision bends without having to spend a ton of money on a machine. Plus, it’s rewarding to make your own parts to fit your needs.
Steps to Hand Bend Sheet Metal
- Choose the Right Sheet Metal
Choosing the right metal is crucial when it comes to bending. Metals like aluminum and copper are perfect for hand bending because they’re soft. Make sure the metal isn’t too thick; anything around 1.5mm or less is good for hand bending. - Gather Necessary Tools
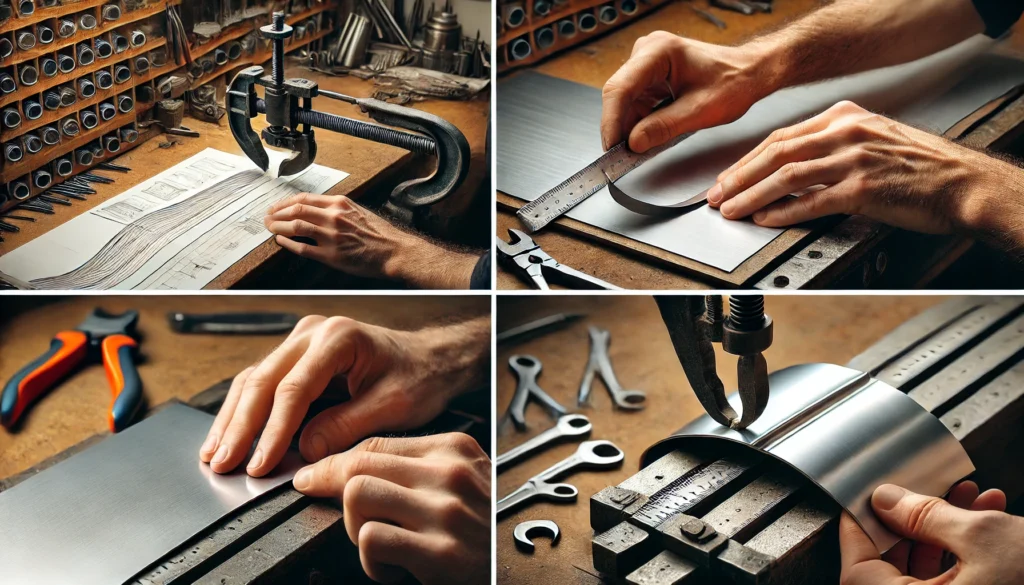
You’ll need a ruler or measuring tape, a marker or scribe, clamps, a bending brake or metal vise, pliers or metal bending tools, and safety equipment like gloves and safety glasses. Having the right tools will make the process easier and safer. - Measure and Mark
Make sure you measure accurately. Measure the area where you want the bend and mark it well with a marker or scribe. This will help you know where to bend and make sure you bend it in the right spot. - Prepare the Work Area
Put the sheet metal on a sturdy workbench. Use clamps to hold the metal in place while you bend it. Having everything stable will help you apply even pressure and get a nice, clean bend. - Set Up the Bending Brake or Vise
Put the line on the edge of the bending brake or vise. Make sure the metal is lined up correctly to get a straight bend. This is key to making it look like a professional did it. - Perform the Bend
Start to press down on the sheet metal along the line you marked. If you’re not using a brake, use pliers or bending tools to guide the bend. Bend the metal to the angle you want, making sure you apply even pressure along the line. This step requires some patience and precision. - Check the Bend
Take the metal out of the brake or vise and check the angle with a protractor or angle gauge. Make any adjustments you need to get the right angle. Checking your work will make sure you get it right. - Smooth and Finish
Use a file or sandpaper to smooth out any sharp edges. Clean the metal to get rid of any marks or debris left from the bending process. Cleaning it up will help it look professional when you’re done. - Safety Tips
Always wear gloves and safety glasses. Go slow and steady so you don’t hurt the metal or yourself. Safety should always be your first concern.
Specialized Tips for Hand Bending
Consider the Bend Radius
Make sure the bend radius is at least the thickness of the metal to avoid cracking. If you’re doing tight bends, anneal the metal if necessary to help make it more pliable. This is especially useful for making precise bends.
Account for Springback
Metal likes to spring back a little after you bend it. Bend a little past where you want to be to account for springback. This will help make sure you hit your final angle.
Use a Template for Consistency
If you have several bends to make, you can use a template to make sure they’re all the same. Make a template out of wood or metal to get consistent results. Templates are great when you have a lot of the same thing to do.
Avoid Overworking the Metal
If you bend and straighten and bend and straighten too much, you can weaken the metal. Plan your bends carefully and try to do as little adjusting as possible. This will help keep your metal strong.
Apply Lubrication
Put a little lubricant on the bend line to help reduce friction and prevent cracking. This is especially useful if you’re bending thicker metal or doing a complex bend. Lubrication can make a big difference in how well the metal bends.
Heating for Difficult Bends
If you have a really tight bend or a complex bend, you can gently heat the metal along the bend line. Use a propane torch, but be careful not to overheat and weaken the metal. Heating can make bending a lot easier and more precise.
Practice with Scrap Material
Practice bending on some scrap pieces of the same metal. This will help you get the hang of it and make sure you get it right on the real thing. Bending takes practice, especially when you’re doing it by hand.
Utilize Bending Jigs
Custom jigs can help with complex or repetitive bends. Jigs help you make precise bends and can be made out of metal or hardwood. They’re great for getting the same result every time.
Pay Attention to the Grain
Bend across the grain to reduce the chances of cracking. Aluminum and other soft metals often have a visible grain. Paying attention to the grain can help you make better bends.
DIY Sheet Metal Bending
Using Relief Cuts for Bending
Step 1 – Make Relief Cuts:
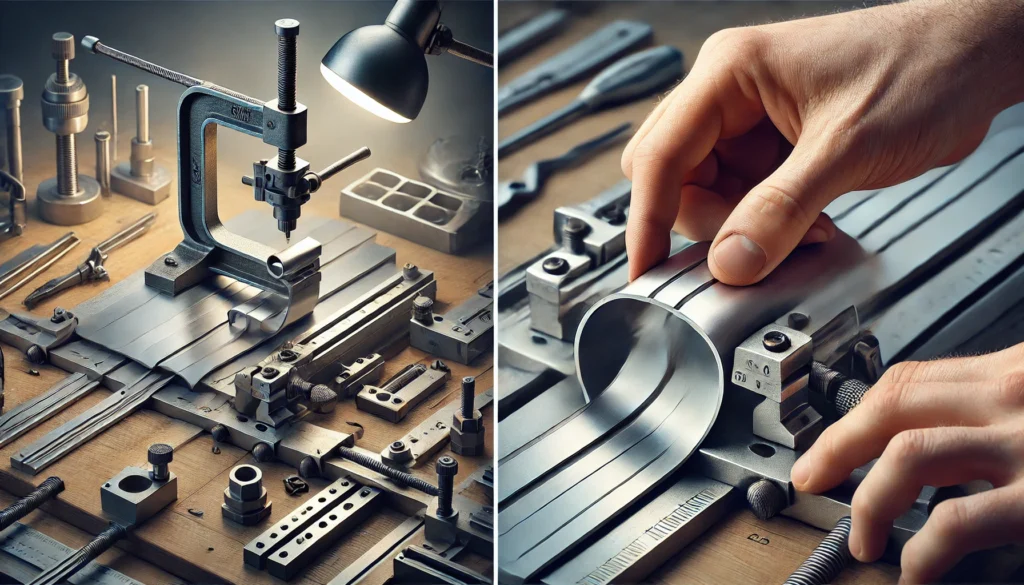
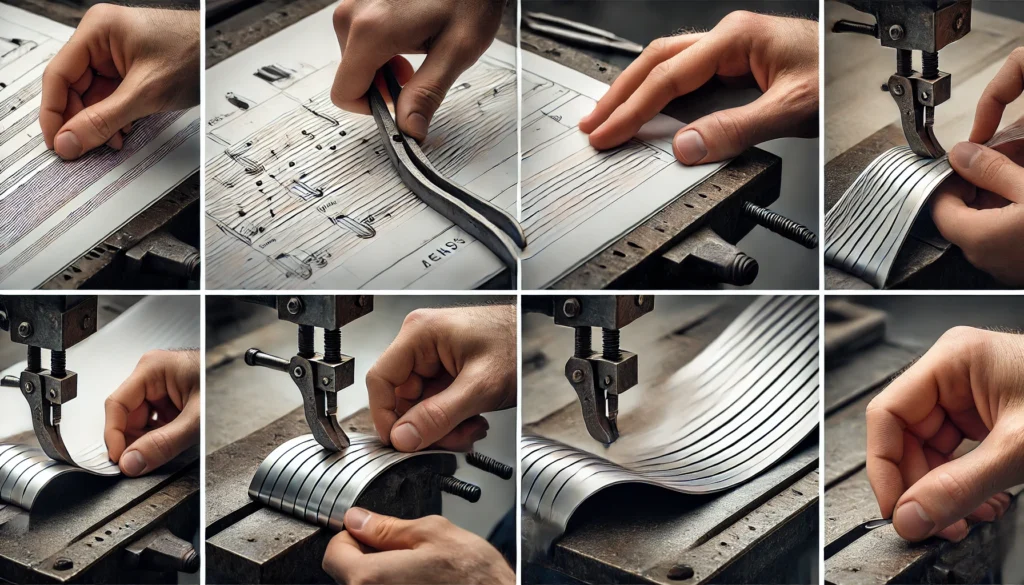
Create relief cuts along the line you want to bend. For thin metals, the cuts should be 0.5 times the material thickness. For thicker or harder metals, you may need a bit more. Relief cuts make it easier to bend the metal accurately.
Step 2 – Bend the Metal:
Bend the metal along the relief cuts. The cuts make bending easier, especially for thicker materials. This method is a great alternative to using a press brake.
Metal Sheet Hand Bending Guidelines
The Gap
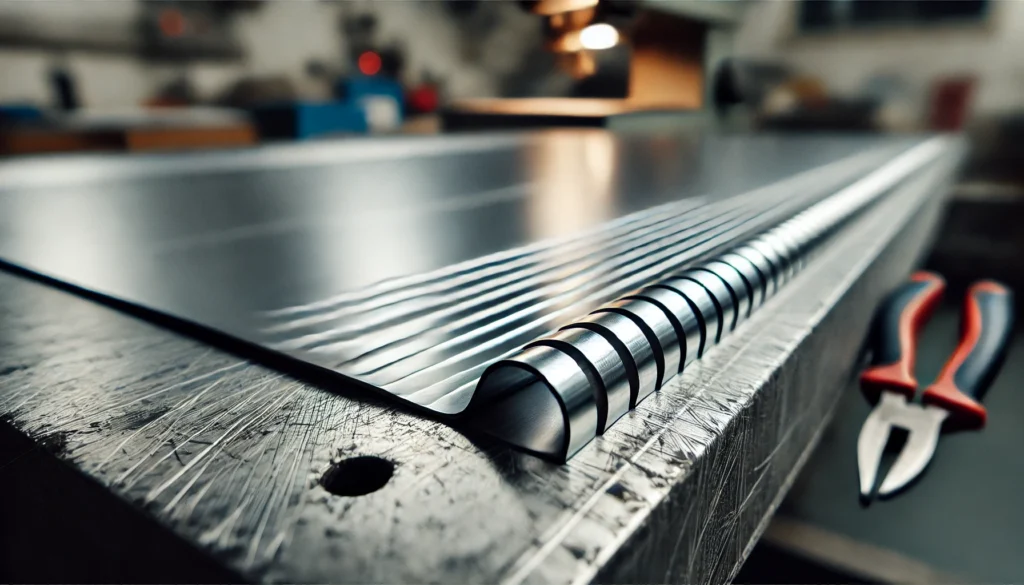
The width of the relief cut should be 0.5 times the material thickness. For example, 0.125″ aluminum would need a gap of 0.075″. It’s important to have the right size gap for a clean bend.
The Tab
abs should be the width of the material thickness or wider. Tabs that are too wide require more force to bend; tabs that are too narrow weaken the part. The correct size tab is essential for ease of bending and part strength.
The Length
The number and length of slots depend on the material type and thickness. For most parts, start with a half dozen slots. Adjust the number and length of slots based on your specific needs.
The Tail
Longer parts are easier to bend because you have more mechanical leverage. For shorter parts, add more tabs by shortening the slot length. This ensures you have enough leverage to make clean bends.
7 Tips for Bending Laser Cut Parts
1. Understand Difficulty Factors:
Bending thicker and stronger materials is harder. Shorter flanges give you less leverage. Design your parts to make bending easier.
2. Increase Leverage:
Clamp one side down and use hand tools to get more leverage. Use a bench vise or a piece of angle iron to help with wider bends. Getting more leverage makes it easier to bend things and get them right.
3. Avoid Overbend:
Bend in one direction to avoid stretching the metal and causing it to fatigue. This makes your parts weaker and makes sure your bends are accurate.
4. Choose Suitable Materials:
Carbon steel and 5052 aluminum bend better than other alloys. Use the right material for the job to make sure your parts bend right.
5. Reinforce with Tabs and Slots:
You can use tabs or slots to make your parts stronger. This can be interlocking flanges or welding in relief cuts to reinforce the bend. This is especially important for complex parts to make sure your bends come out right.
6. Keep it Flat:
Clamp your flanges flat to make sure your bends are clean. You can use hand seamers or a flat piece of wood to help. This keeps your parts from warping and makes sure your bends are consistent.
7. Apply Design Guidelines:
Think about the distortion near the bend lines and make sure you support your material. This will help you make sure your parts come out right.

You Are Ready to Go
Using CAD and Calculators:
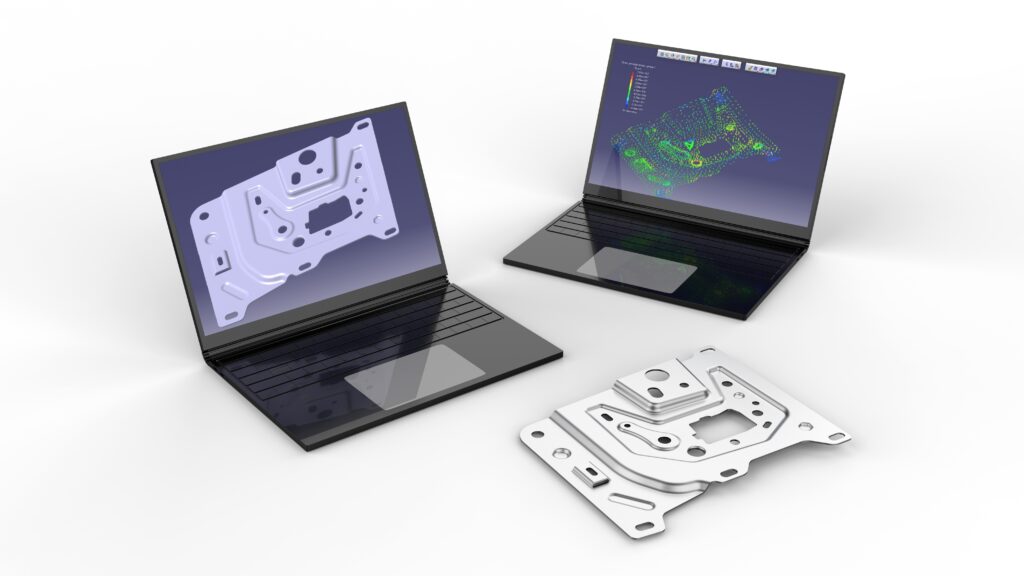
Use .dxf templates and sheet metal bending calculators to refine designs. Tools can calculate bend allowance and bend deduction. These resources are invaluable for achieving precise results.
Premium Services:
Premium can laser cut and CNC bend parts for you. Make sure your design files are in the right format and pass all the preflight checklist requirements. If you can’t bend them by hand, our professional services are here to help.
Preflight Checklist:
• Files should be in accepted formats (.dxf, .dwg, .ai, .eps for 2D; .step or .stp for 3D).
• Holes and cutouts must meet minimum size requirements.
• Files must be scaled correctly, with all objects on the same layer and no stray points or duplicate lines.
By following these steps and tips, you can hand bend sheet metal well, even for complex parts. If you need help, Premium can help you out with professional bending services.
Conclusion
Hand bending sheet metal is a useful skill to have, especially when you’re working on small projects. By following the steps and tips in this guide, you can make precise, professional bends at home. Remember to practice, use the right tools, and think about the materials you’re using to get the best results. If you need help with more complex projects or want professional help, Premium is standing by to help you make your designs a reality.

