Are you tired of parts tearing or warping on you? It’s a pain, isn’t it? Tearing and warping can slow down your production and cost you money. There’s a simple way to avoid both problems. It’s called a bend relief. If you understand bend reliefs and use them in your designs, you can make your parts last longer, make them easier to make, and save time and money.
You need bend reliefs in your sheet metal designs. They stop your material from tearing and warping when you bend it. When you have the right bend reliefs, your bends will be accurate and consistent. You won’t have stress concentrations, and you can make parts you never thought you could make before. Your parts will be stronger, more reliable, and easier and less expensive to make.
Can you imagine parts that come out right every time? You don’t have to do anything to them. You don’t have to mess with them. You don’t have to adjust them. You can do that if you use bend reliefs. When you add bend reliefs to your designs, you make your parts better. It doesn’t matter if you’re making parts with simple bends or more complex geometry. Bend reliefs make a difference.
What are Bend Reliefs?
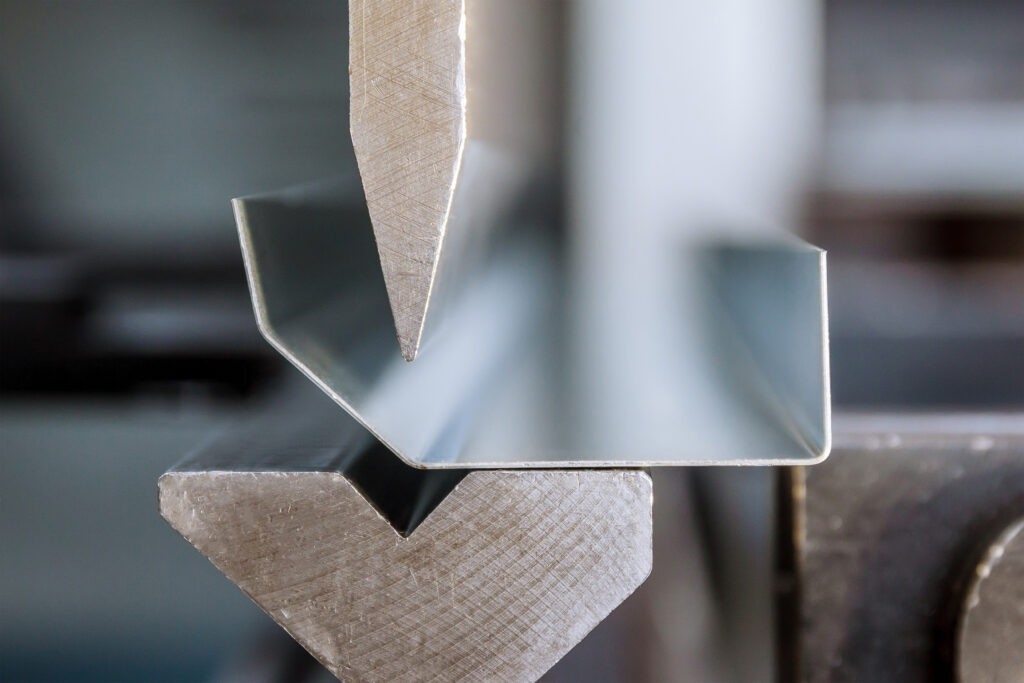
A bend relief is a small area of material removed from the edge of the bend where the curved part meets the flat material around it. This cut allows the bending material to separate from the flat material around it. It gives the material room to stretch and keeps it from tearing or warping.
If you don’t use bend reliefs, your parts will tear or warp, and you won’t be able to make them correctly. When you don’t use bend reliefs, your parts will have defects in them. These defects will make your parts weaker and cause them to fail.

Bend Relief vs. Corner Relief
Do you know the difference between a bend relief and a corner relief?
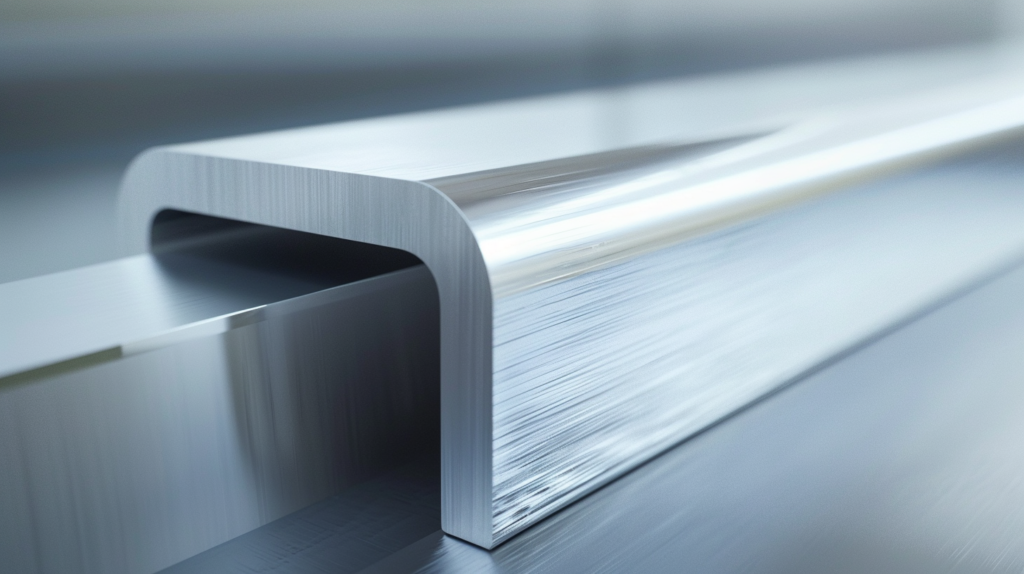
A bend relief is used when you have one bend with flat material at one or both ends. You need a bend relief to make sure you can bend the material without tearing or warping it. You need to use a bend relief if you want your part to look and work the way it’s supposed to.
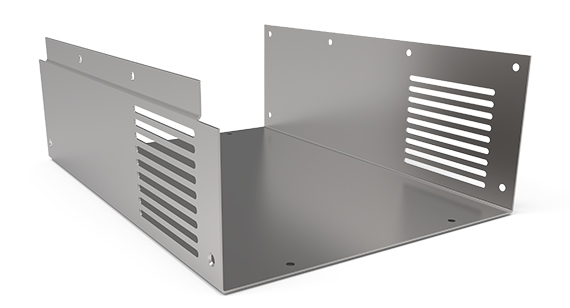
A corner relief is used when you have two or three bends that meet in a corner. This could be a tray or a box. You use a corner relief to remove enough material to let the bends form properly without distorting. You need a corner relief to make sure your parts look and work the way they’re supposed to.

When and Why Bent Corners Need Bend Relief
Material Behavior
When you bend metal, the outside of the bend stretches, and the inside compresses. The compressed material needs somewhere to go, usually squishing out to the sides. If you don’t manage this squishing, the material will warp or tear.
Problem Areas
When you bend metal next to a flat section or another bend, you create problem areas where there’s no place for the material to squish. If the material can’t squish, it will warp or tear. When the material warps or tears, your parts won’t be worth a darn.
When to Use Bend Relief
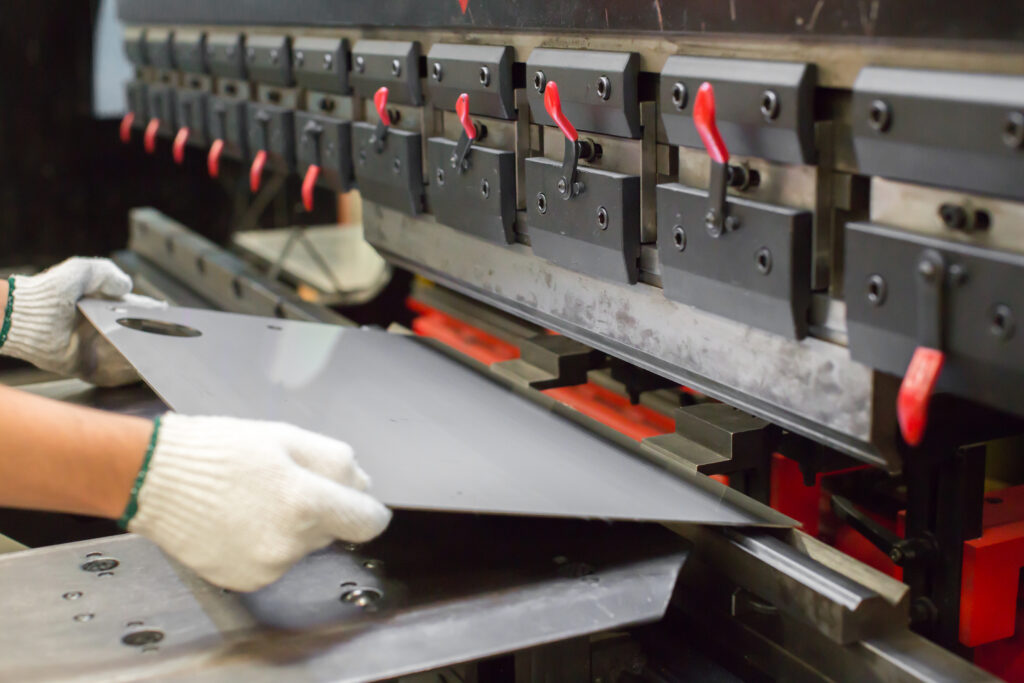
Here’s an example. You have parts with bends that need to stop in the middle. You use bend relief to let the bend happen on one side while the other side stays flat. This way, the material squishes in a controlled way, and the part doesn’t distort. The part looks like it’s supposed to, and it works like it’s supposed to.
Importance of Bend Reliefs
Prevent Tearing and Distortion
You need bend reliefs to keep the metal from tearing or warping when you bend it. If you don’t have bend reliefs, your bends will look bad, and your parts will be defective.
Make Sure Bends Have the Right Angle
Bend reliefs help you make sure your bends have the right angle. If you don’t have bend reliefs, your bends will have the wrong angle. If your bends have the wrong angle, your parts won’t work like they’re supposed to.
Keep Stress Out of the Metal
Bend reliefs get rid of stress in the metal. If you don’t have bend reliefs, the metal will be stressed. If the metal is stressed, it will crack, and your parts will fail. If your parts fail, your customers will be mad.
Change Your Designs and Make Parts with Tighter Tolerances
If you use bend reliefs in your designs, you can make new designs. You can make parts with tighter tolerances. You can make parts that look and work better.
When to Use Bend Reliefs
Close to an Edge
When you bend metal close to the edge, you need to use bend relief because you’ll tear or warp the metal. When you don’t use bend relief, the metal gets too stressed at the bend. When the metal gets too stressed, it squishes out in a big way. When the metal squishes out in a big way, your part looks like garbage, and it doesn’t work.
When You Have Complex Bends
When you have parts with complex bends, you need to use bend relief to make sure your dimensions are right and the material doesn’t tear. Complex bends are bends that go in more than one plane. They have multiple angles, and they’re more likely to tear or stress the material. Bend relief gives the material a place to move and bend the way it’s supposed to.
When You Have Thick Material
When you bend thick material, you need to use bend relief because thick material stresses more. When you don’t use bend relief, the metal gets stressed too much. When the metal gets stressed too much, it’ll tear. You need bend relief to make sure your metal can move and bend without tearing. This is especially important when you have to make parts that are the right size and always right.
When You Have Transitions Between Bends and Flat Surfaces
You need to use bend relief when you have a bend close to a flat or a bend close to another bend. These transitions are spots where the material gets stressed. When the material gets stressed, it tears. You need bend relief to make sure the material can move and bend the way it’s supposed to.
When You Have Parts That Vibrate or Bend
You need bend relief when you have parts that vibrate or bend. Bend relief keeps the tears and cracks from spreading when parts vibrate or bend. When parts vibrate or bend, they make the stress points worse. When the stress points get worse, the material fails. Bend relief spreads the stress out and makes the part last longer.
What Size Should Your Relief Be?
Width
- The relief needs to be at least half the thickness of the material. This way, the material has enough room to squish without getting too stressed.
• Relief Width = Material Thickness / 2
Depth
- The relief needs to be at least the thickness of the material plus the radius of the bend plus 0.02” (0.5mm). This extra depth gives the material room to squish without tearing or warping.
• Relief Depth = Material Thickness + Bend Radius + 0.02”
Properly Sized Relief
A relief is deep enough when it goes at least as deep as the start of the bend. This way, the material has enough room to squish without getting too stressed or tearing.
What’s the Recommended Gap Between Flanges?
When you bend metal, it’s recommended to keep a gap of at least 0.015” (0.4mm) between the flanges when the bends meet in a corner. This gap gives the material room to squish without tearing or warping. If you don’t keep this gap, the material will tear, and your part will be junk.
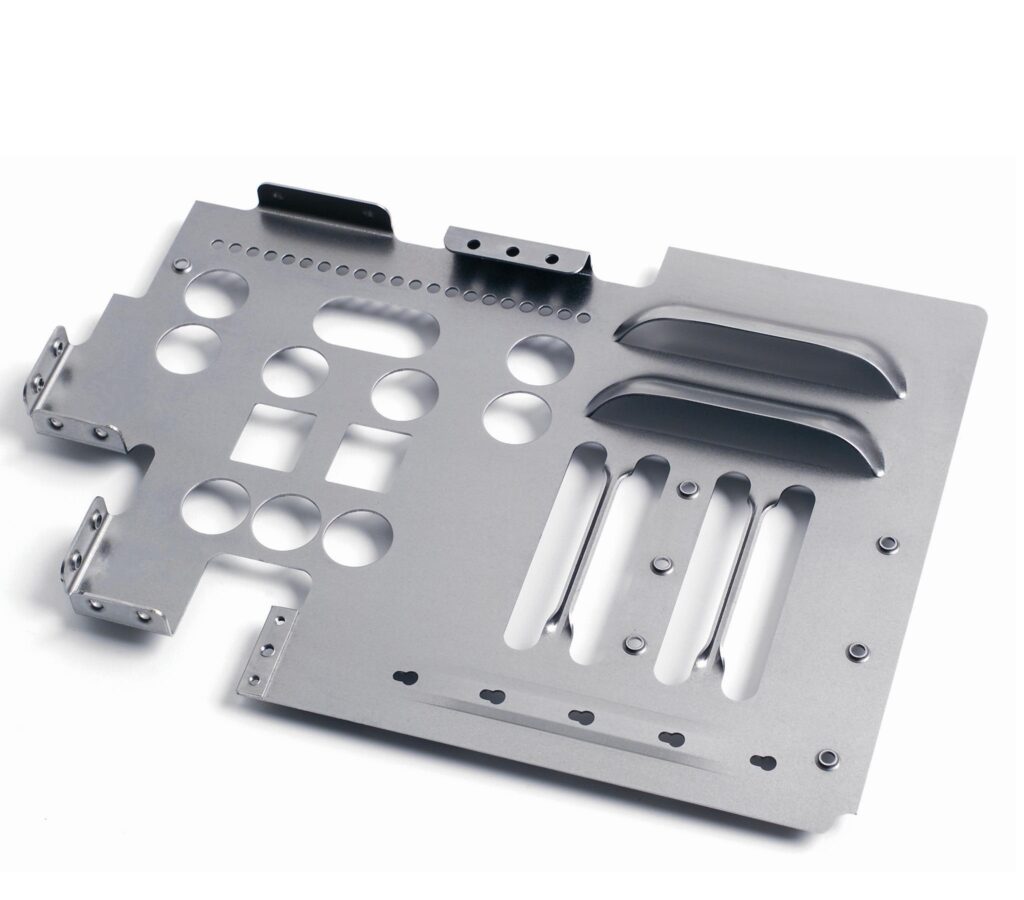
5 Common Shapes for Bend Relief
Rectangular
A rectangle is an easy bend relief shape that doesn’t stress the material at the bend line. However, rectangles aren’t good for parts that have to hold a load because the corners are weak points where cracks can start. Even though rectangles aren’t the best for parts that have to be strong, they’re easy to draw and cut. That’s why you see them all the time.
Obround
An obround is a slot with round ends. It’s good for closing gaps and for welding or sealing. Since the ends are round, they don’t stress the material as much. Obrounds are good for parts that have to be sealed or welded. They’re also good for parts that have to bend cleanly and exactly because they don’t stress the material as much.
Round
A round bend relief is a circle. You see them a lot in handmade parts because you can make them with a drill. Since they’re round, they don’t stress the material too much. Even though they leave a little bit bigger gap, they don’t tear the material, and you can make them fast. That’s why you see them in parts that are made a few at a time or in parts that are experimental. They’re fast to make and easy to design.
Custom Shape
A custom bend relief is a bend relief that you design for your part. You can cut them with a laser, and you can make them in any shape you want. This is good for parts that have to be exactly right or parts that have to look a certain way. Custom bend reliefs are good for parts that have to work a certain way, too.
Tear
A tear bend relief is a zero-width cut. These aren’t good for clean parts. Since we don’t have cutting tools that cut a zero-width cut (even lasers cut a little bit), tear bend reliefs can mess up the part. They can make the part dirty, and they can make the part tear. Even though tear bend reliefs can make parts dirty and tear, sometimes you have to use them because you don’t want to cut a lot. Just remember they’re not the best.
Designing Bend Reliefs with CAD Software
Manual Addition
When you draw your own bend reliefs, you can put them where you want them and make them the size you need them to be. This is good when you need bend reliefs that are a certain size or shape and the CAD software doesn’t have them. By drawing your own bend reliefs, you make sure they’re perfect for your design. When you draw your own bend reliefs, they work better, and they look better.
Use CAD Tools
Software like Fusion360, SolidWorks, and Creo all have sheet metal features that make adding bend reliefs easy. These features come with different sizes and shapes of bend reliefs built in. When you use the software’s bend reliefs, you don’t have to worry about the size. You just put them in and go. One thing to remember is that the depth of the relief can be measured from different places in different software. This makes it easier to design your parts because you don’t have to worry about getting the relief wrong. You know it’s right every time.

How to Add Bend Reliefs the Right Way
Think About the Material and How Thick It Is
You need to think about the material and how thick it is when you add bend reliefs. Different materials and thicknesses bend differently. You need to make sure your bend reliefs are the right size based on the material you’re using. This way, the bend reliefs will work like they’re supposed to.
Add Bend Reliefs Early in the Design Process
Adding bend reliefs early in the design process helps you avoid problems later. When you add bend reliefs early, you can test your design to make sure it works. You can make sure your design can be made, and you can make sure your design meets all the requirements. When you add bend reliefs early, you don’t have to worry about making changes later. You save time and money this way.
Test Your Design with a Prototype
You have to make a prototype to see if your bend reliefs work. When you test your design, you can see if the material bends the way it’s supposed to. You can see if you need to change the design. When you test your design with a prototype, you can make sure your bend reliefs do what you want them to do.
Common Mistakes to Avoid
Not Making the Relief Long Enough
If you don’t make the relief long enough on your bend, the metal will tear or warp. The relief has to go past the bend radius. This way, the metal can squish without getting too stressed at the bend.
Placing the Relief in the Wrong Spot
If you don’t put the relief in the right place, the bend won’t be even, and the metal will get stressed. You have to put the relief in the right place. This way, the relief works the right way. Make sure you put the relief right on the bend line. This way, the metal can squish without tearing.
Not Thinking About the Metal
Different metals need different relief designs. If you don’t think about the metal you’re using, the relief won’t work. When you design a relief, you have to think about the metal you’re using. This way, the relief works the way it’s supposed to and keeps the metal from tearing.
Preflight Checklist for Design Files
Before you send your design files to be cut, make sure you check these things:
File Format
Make sure your files are 2D (.dxf, .dwg, .ai, .eps) or 3D (.step or .stp). These file types work with most machines and software, making it easy to move your design from the computer to the cutting machine.
Hole and Cutout Sizes
• Laser Cut Parts: Your holes and cutouts need to be at least half the thickness of the metal. This way, the laser can cut the metal without burning or melting it too much.
• Waterjet Cut Parts: Your holes and cutouts need to be at least 0.070”. Waterjet cutting uses water to cut the metal, and this size keeps the water from removing too much metal or making it wavy.
• CNC Routed Parts: Your holes and cutouts need to be at least 0.125”. CNC routing uses a bit to cut the metal, so you have to make the holes and cutouts bigger to make sure they come out right.
Scale
Make sure you build your parts at a 1:1 scale in inches or millimeters. This way, the parts in your design are the same size as the parts you want to make. This keeps you from making parts that are smaller or bigger than they’re supposed to be.
Layer Management
Make sure everything is on the same layer. This way, the person cutting your parts doesn’t get confused or make a mistake. When everything is on the same layer, the person cutting your parts only has to look in one place for everything.
Clean Design
Get rid of extra lines, double lines, empty shapes, and words. A clean design makes sure the laser or waterjet follows the line you want it to follow. This way, your parts come out the way you want them to.
Closed Shapes
Make sure you don’t have any shapes with open lines. Open lines can make the laser or waterjet stop cutting, leaving parts you don’t want. If you close all your shapes, the laser or waterjet will cut where you want it to cut.
Unified Shapes
Make sure all your shapes are one shape. This way, the person cutting your parts doesn’t leave a gap between your parts. If you make all your shapes one shape, the person cutting your parts won’t make a mistake.
Word
Make sure all your words are turned into lines or shapes. The laser or waterjet can’t cut words like you think it can. If you turn all your words into lines or shapes, the laser or waterjet will cut your words right.
Cut-Out Text
Make sure the words you cut out have bridges. Bridges keep the words from falling out of your parts. This way, you can read the words, and they don’t fall out.
Conclusion
You need bend reliefs to keep your parts from tearing or warping. If you know how big your bend reliefs need to be, you can make your parts better. You can draw your own bend reliefs or use CAD tools. If you need more information, check out our blog. We have a lot of stuff about bending and design.
If you know when and how to put bend reliefs in your designs, you can make better parts. You can make parts that are easy to make, and they come out the way you want them to.

